After the CEL came back on after my last attempt, I realised that I’d have to replace the solenoid. This is an annoyingly difficult thing to get to, but THIS TIME it’s fixed.
If you are thinking of doing this yourself, I have some left over and I’m selling them on eBay – these are just as good as the ones you get from Mazda (for almost 10 times the price), they’re just missing the little logo.
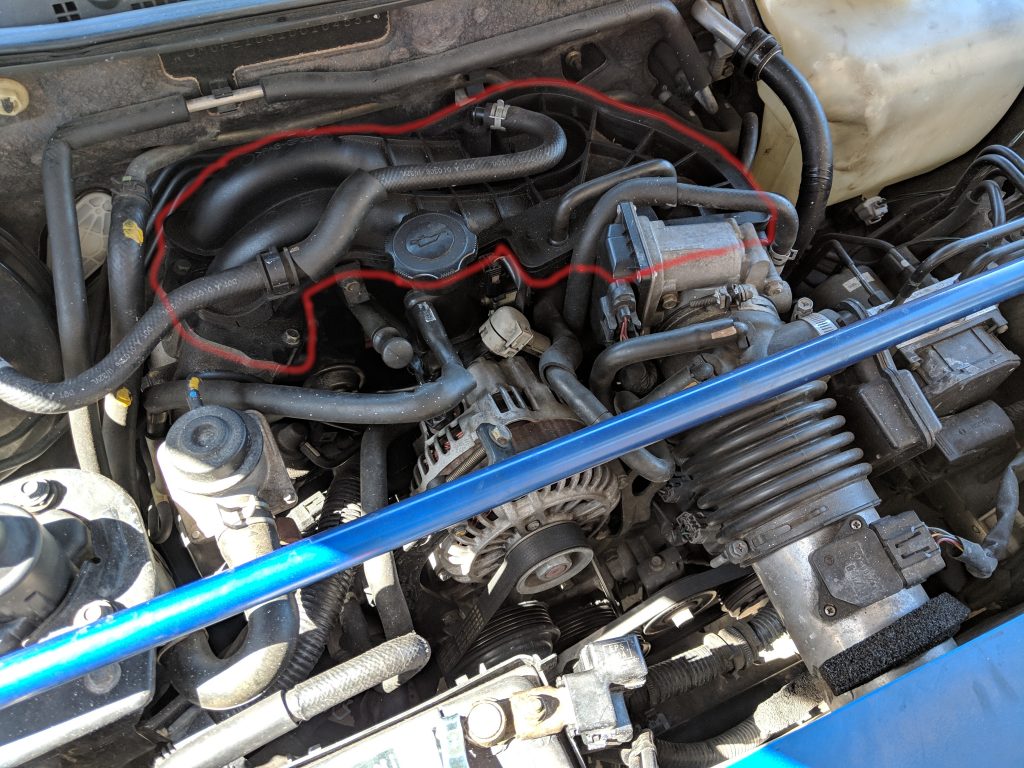
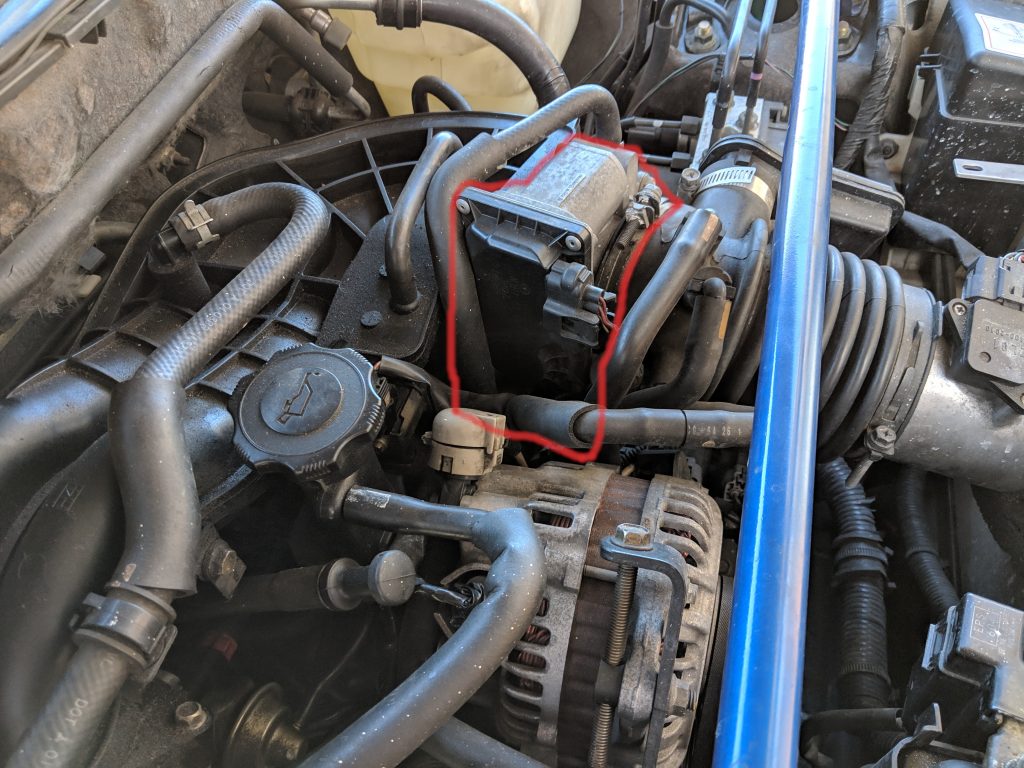
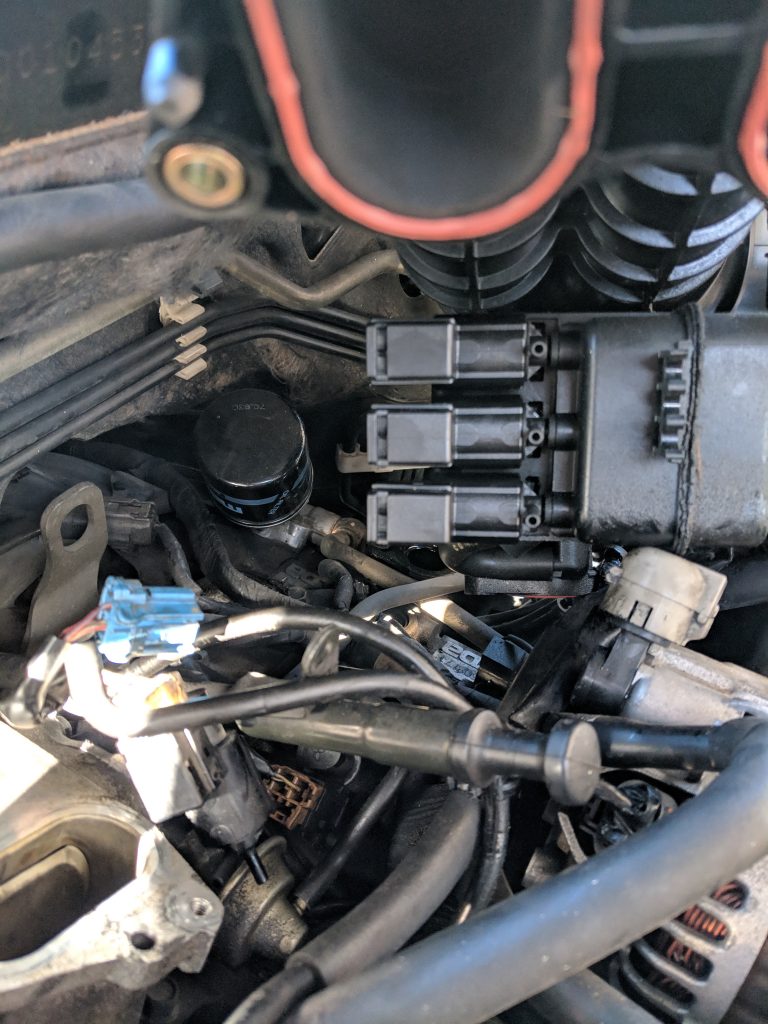
There are three solenoids in the same place, and since I had to pull the intake manifold off, I thought I may as well replace all three.
Thanks to some fantastic documentation on RX8Club (with photos!) I had a pretty good idea of what was involved, so I started pulling everything apart. As this is a RHD, and most of the stuff on RX8Club is about LHD cars, there were a few differences, but nothing of significance.
The first thing to do was to take off the throttle body
First I had to take off the pipe coming from the air filter, which was done by simply loosening the clamp holding it in place, and then levering it off gently with a screwdriver
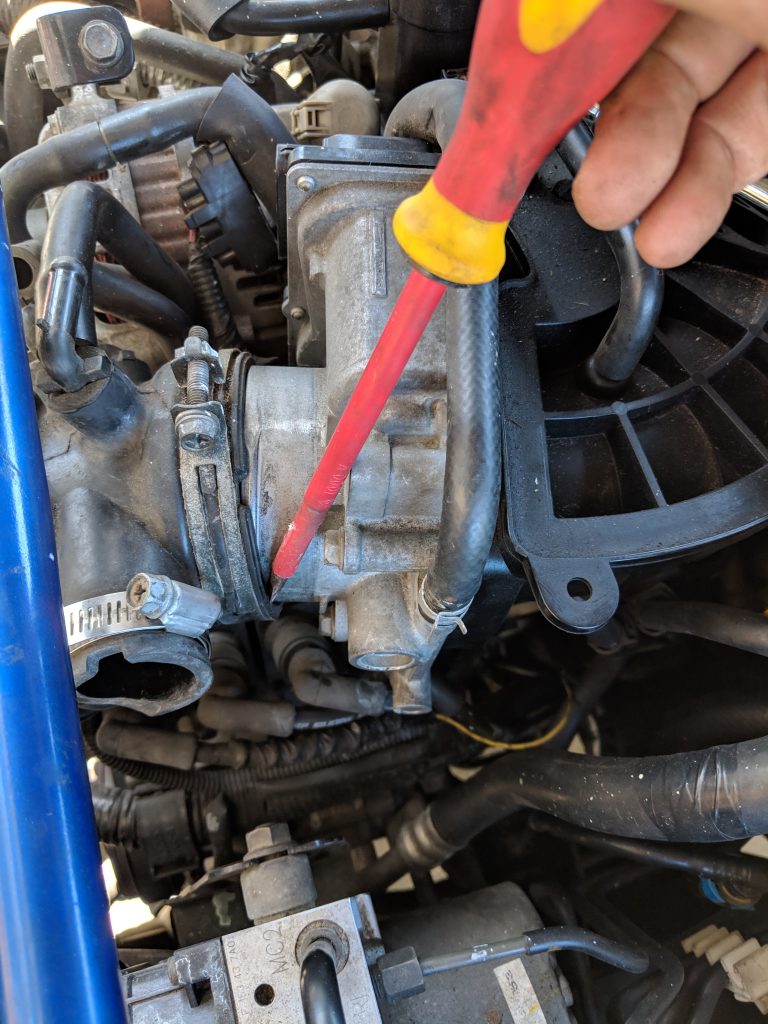
Then after disconnecting all the hoses from the pipe, it was time to remove the throttle body itself. There are 4 bolts, and I noticed that 3 (of the 4) had thread-locker on them, so when I re-assembled it, I made sure to put some back on.
Don’t just wildly disconnect all the hoses though – you’ll end up with coolant all over the place. Just move it out of the way, it won’t bother you. Also, yes, my throttle body IS dirty. I’m going to have to look into how to clean that out. There shouldn’t be any foreign matter in there at all 8-(

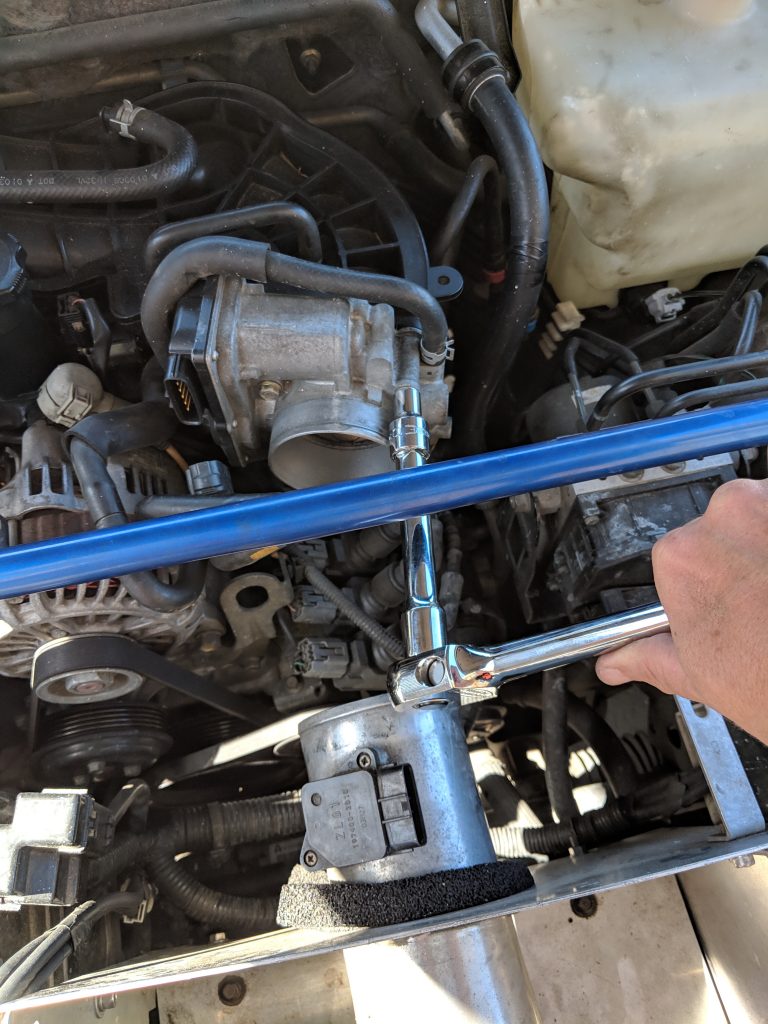
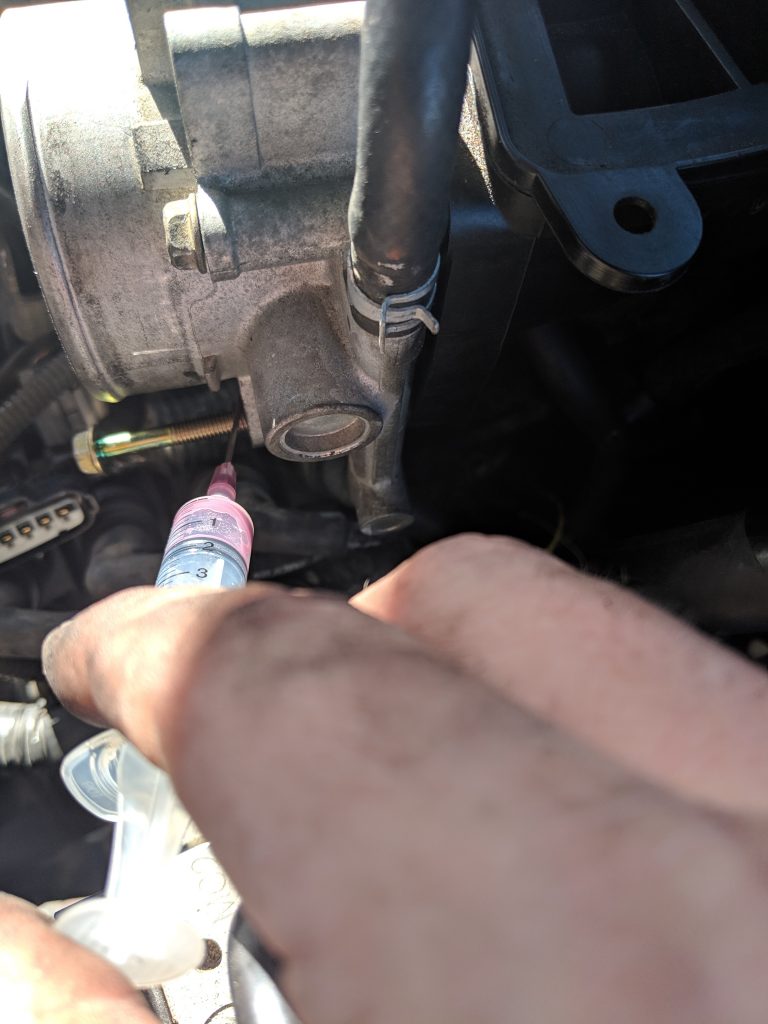
Now it’s just a matter of removing the bolts. There’s three on the left hand side, and one of them needs a universal joint to get into. It would have been a better idea to use a medium drive for that, rather than a full size, but I couldn’t be bothered walking back to the shed to get it.
As my car is an Automatic, I also needed to remove the bolt that holds the dipstick for the transmission (which doesn’t appear to be on manuals, from the photos that I saw – or maybe it’s in a different place on LHD cars?)
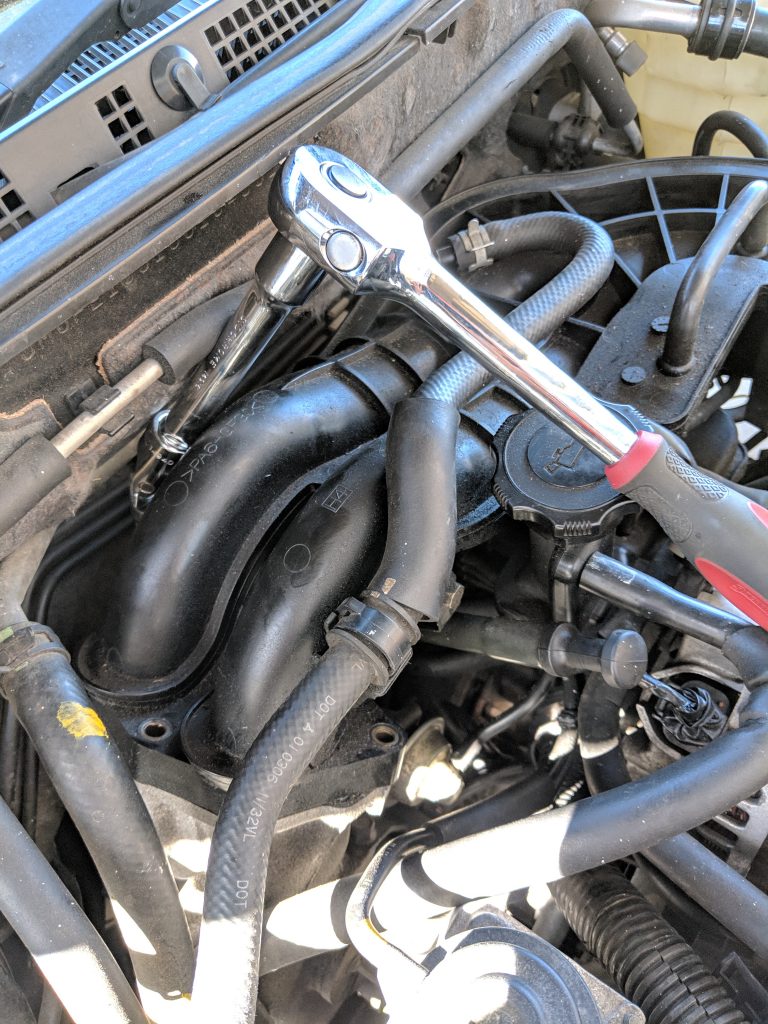
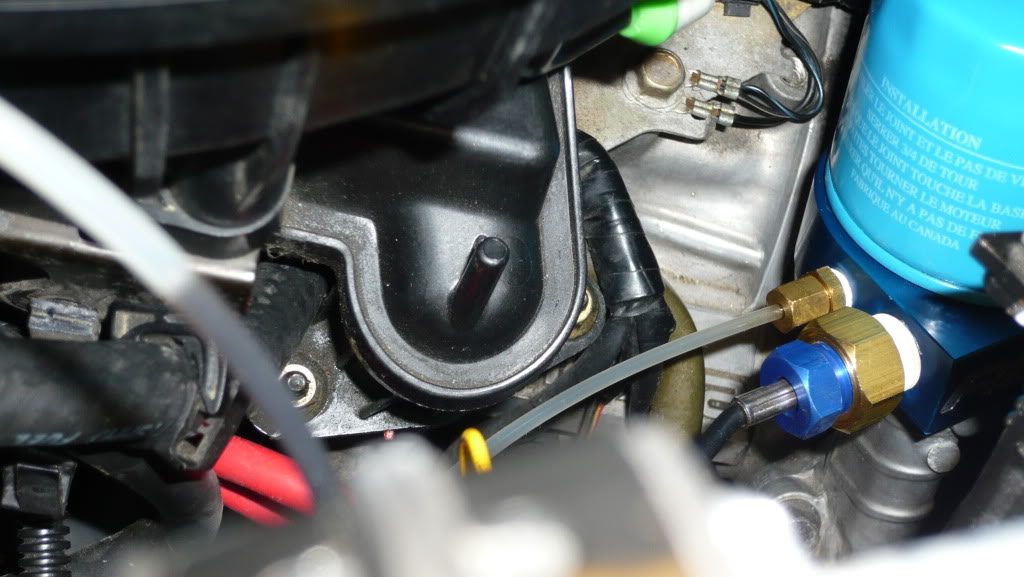
There are another two bolts on the right hand side that attach the lower intake manifold to the engine (so when you pour oil into the spout there, it actually gets into the engine!) that I foolishly forgot to take photos of. But it’s a reasonably painless removal – you just need a 10mm socket on a long extension, and make sure you don’t let the nuts fall into the engine bay! I found this photo in rx8forums, but it’s not my photo
After that, it’s just a matter of disconnecting any hoses you have left over, and lifting the intake manifold off. Other instructions say to seperate the upper and lower intake manifolds, but I was able to easily access the three solenoids and replace them all
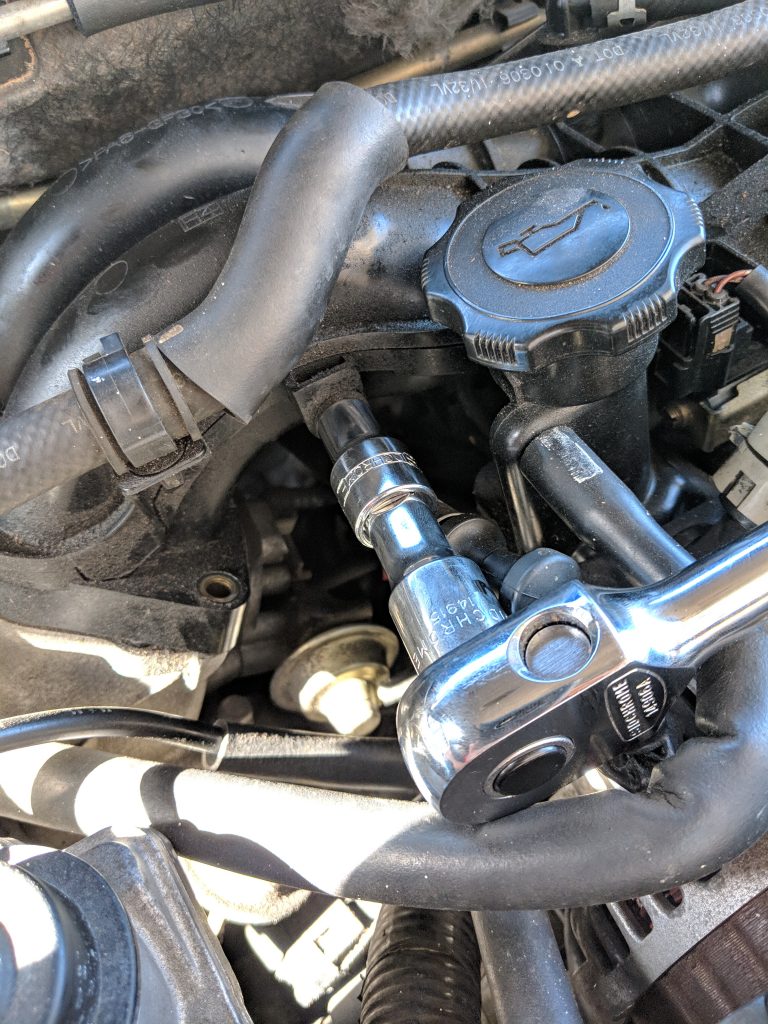
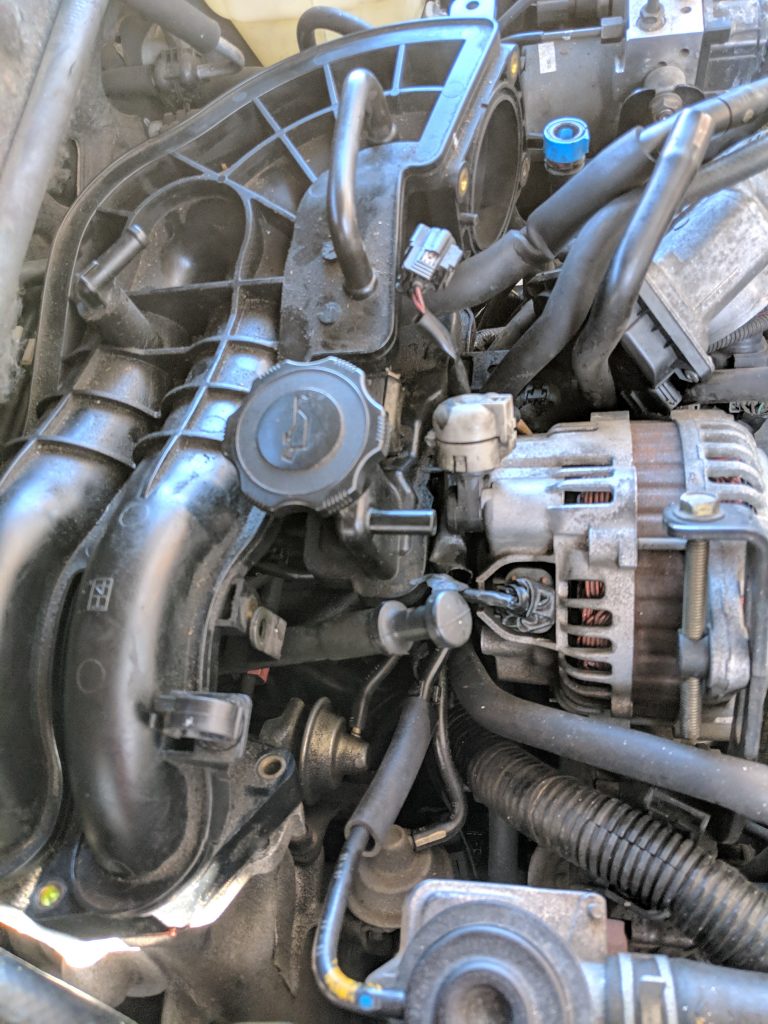
Now it was just a matter of putting everything back together…
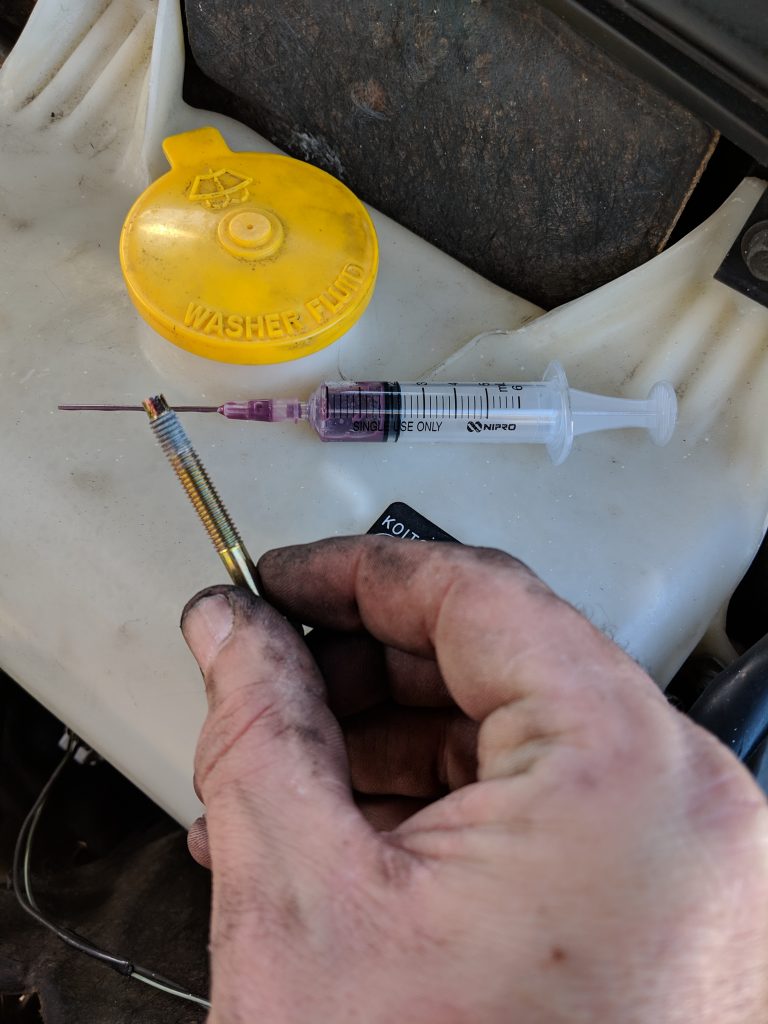
As I mentioned above, I noticed that some of the bolts holding the throttle body in place had threadlocker on them. As it was white, it was PROBABLY Locktite 565, which is slightly stronger than the 222 (Purple) which is my go-to for most threadlocking uses. As only three of the four had it, I felt that using 222 on all four is better than using 565 on three!
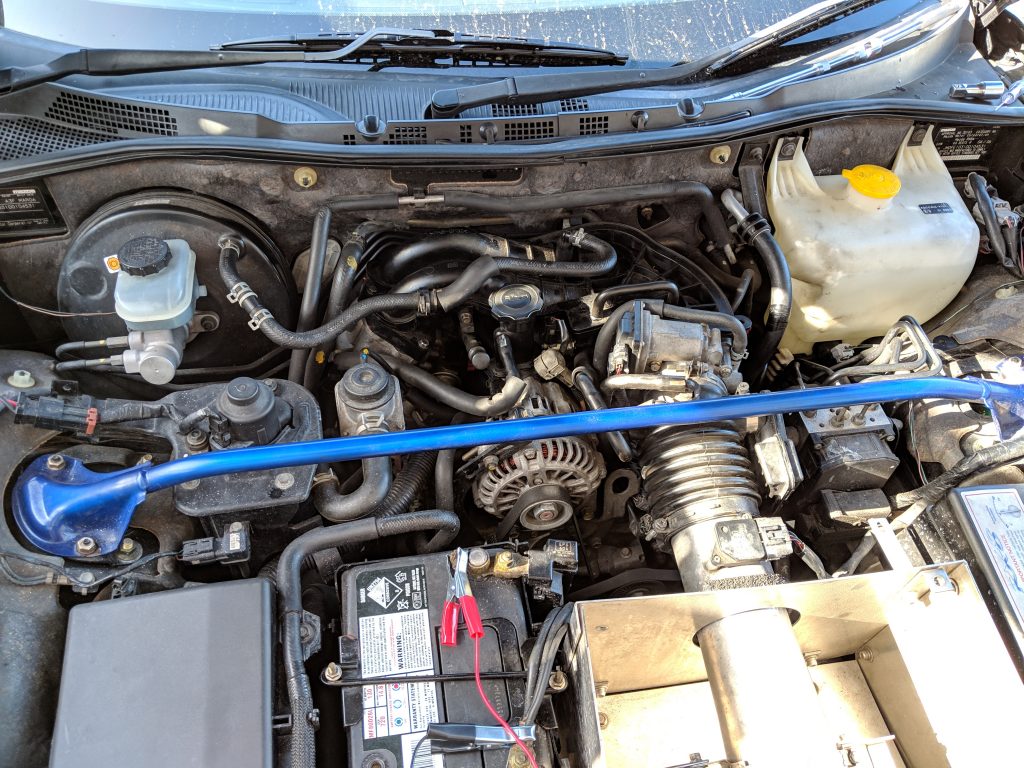
Finally, it was all back together. You’ll notice the battery is on charge, because something is draining it and I haven’t looked into what is causing it yet (but, I have a suspicion it’s the boot light – other people have reported that the microswitch that activates the light can break easily).
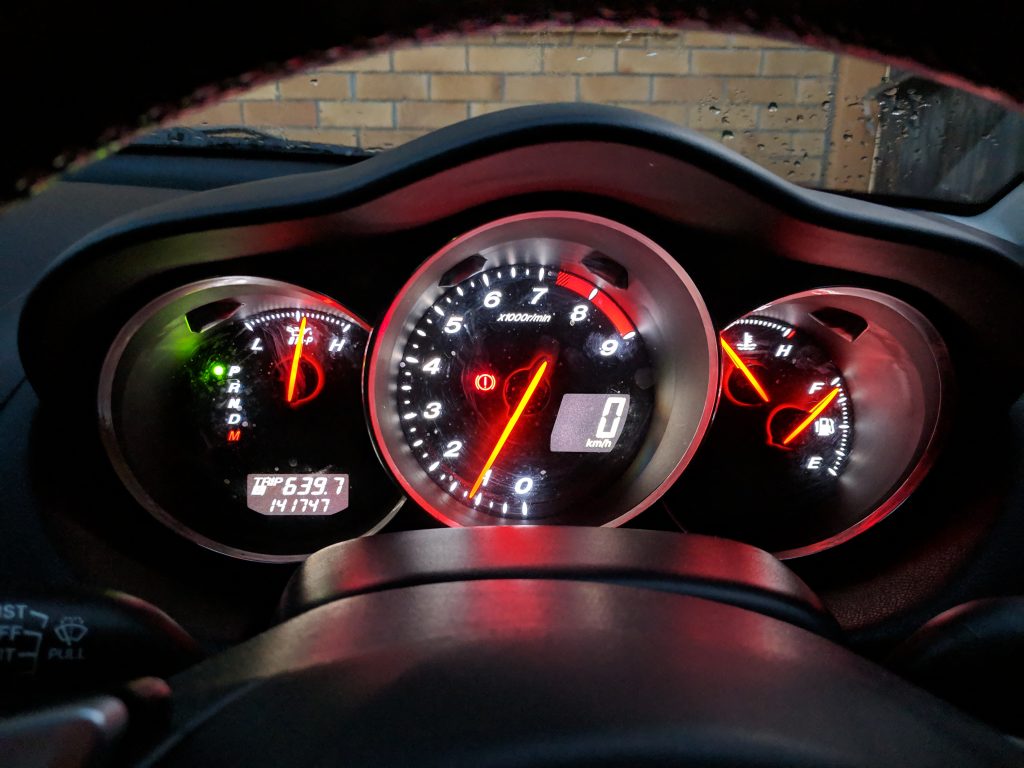
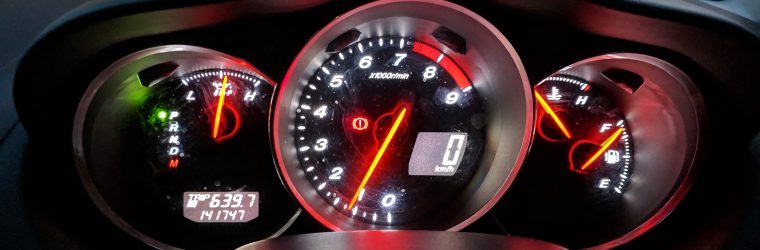
And then, FINALLY, after clearing the error code, the CEL light is off for this week! Now, finally, I can get it roadworthy’ed and transfer the registration!